If you’ve been a MacOS user all your life or you’ve simply been living under a rock this whole time, you might not know how to take a screenshot on a Windows PC.
That’s OK because luckily, taking a screenshot on a Windows PC is one of the easiest things you can learn to do. So, without further ado, here’s how to take a screenshot on a Windows PC!
Print Screen Method
Step 1
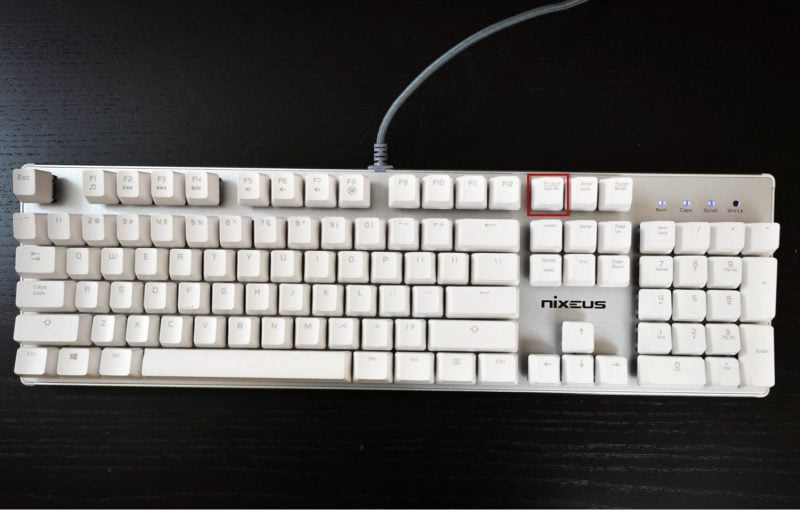
Press the PrtSc or PrtScn button. This will capture the entire contents of the screen and put it into the clipboard.
Alternatively, press Alt + PrtSc or PrtScn button. This will capture just the active window.
Step 2
Now that it’s in the clipboard, it needs to be pasted to something. This can be Microsoft Paint, Microsoft Word, a Google Doc, Adobe Photoshop or anywhere else an image can be pasted.
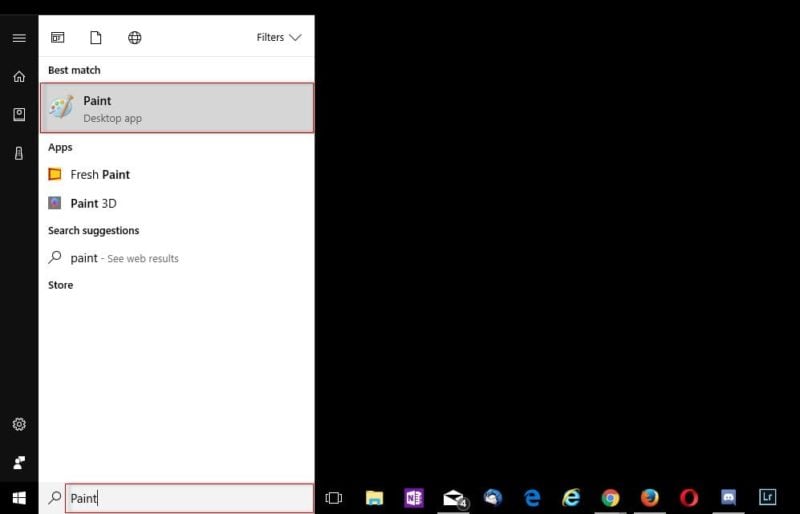
For this example, we’ll be using Microsoft Paint. Open up Microsoft Paint by going to Start and searching for Paint. Click on Paint.
Step 3
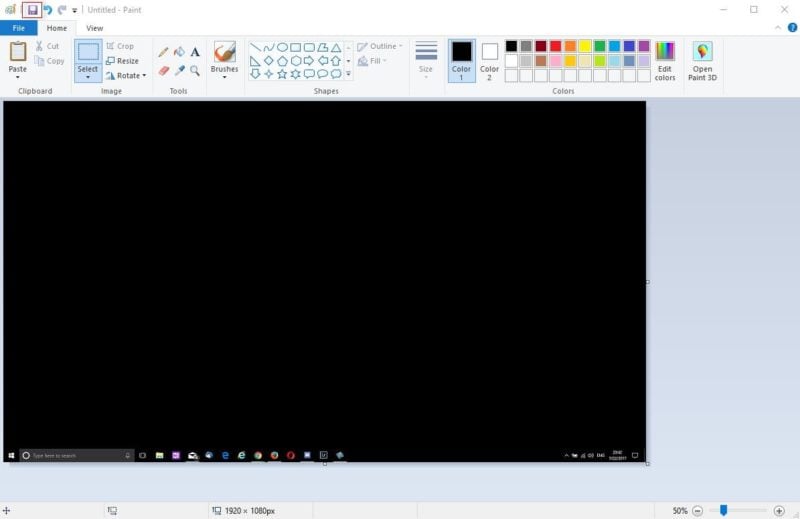
Press Ctrl+V to paste the image into paint. Now simply hit the Floppy Disk icon in the top left corner of the Paint app to save the image.
Snipping Tool Method
Step 1
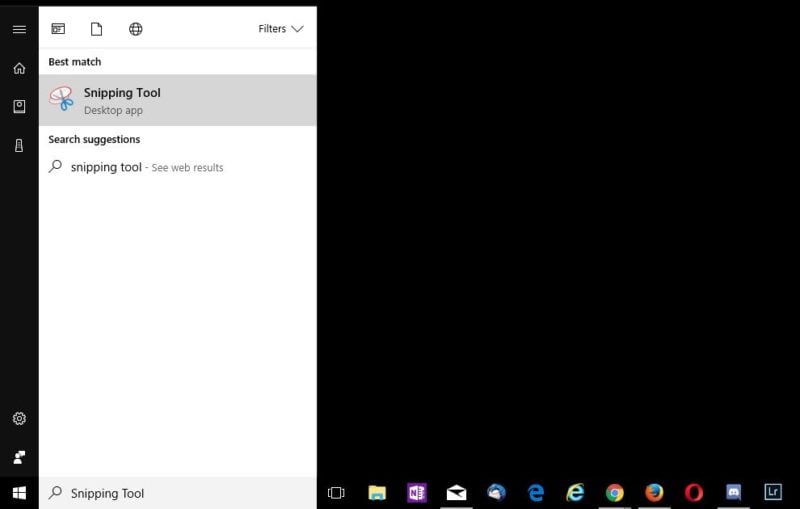
Launch the Snipping Tool by going to Start and searching for Snipping Tool. Click on Snipping Tool when it appears.
Step 2
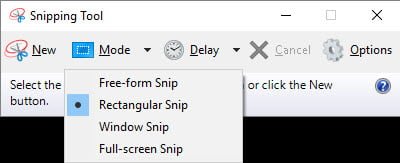
Once the Snipping Tool is open, click on Mode to select the screenshot method.
- Free-form Snip allows taking a screenshot by free-form drawing the portion of the screen you’d like to screenshot.
- Rectangular Snip allows drawing a rectangle to screenshot the portion inside the rectangle.
- Window Snip allows taking a screenshot of a window.
- Full-screen Snip allows taking a screenshot of the entire screen.
After a Mode is selected, simply click New to start the screenshot.
Step 3
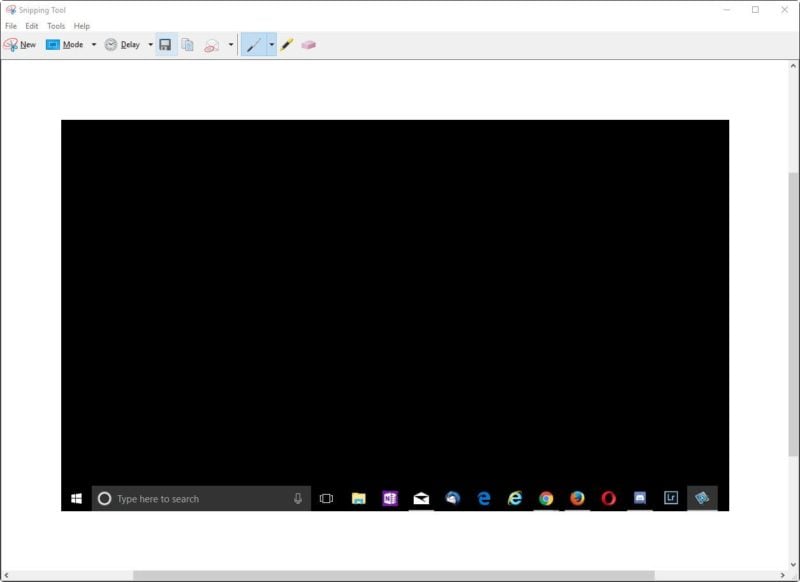
For this example, we’ll be doing the Rectangle Snip. After drawing a rectangle, the screenshot will be captured. Then, simply click on the Floppy Disk icon to save the image.

0 Comments